Paint Pouring Furniture Art
- Sarah Murphy-Colourfulsaz

- Jan 24, 2021
- 2 min read
Updated: Apr 23, 2021

Hi guys, trying to keep up this blogging malarky. Let's see how long this lasts!
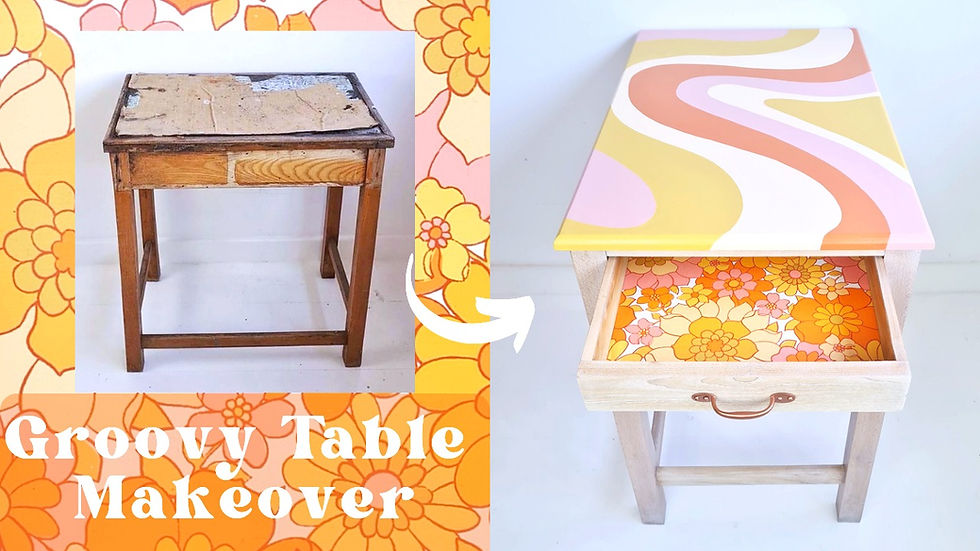
This week I’ll be showing out how to paint our on your furniture! Super fun idea and you don’t need to be an artist to get a great result.
Here’s how I did it;
Fully prep your table- check out my previous blog post on this topic to start off with the perfect base for your painting.
Mask off the legs- I kept the legs all one colour so in order to avoid drips you need to mask off anywhere you don’t want to get paint on when pouring with masking tape and paper or plastic bags.
Mix your paint- there’s lots of information online about ratios of how much paint to how much pouring medium you need to use. In this case, I mixed furniture paint with varnish and water to ensure the paint would move freely. I eyeballed the amounts and probably did a 3:1 ratio of varnish and water mixed to paint. I didn’t measure this out accurately but you can be more scientific with it all if you wish.
Combine the paint- once all the colours have the same consistency you can put them all in the one cup. Pouring them into the centre they shouldn’t mix with one another if they all are of similar consistency.
Pouring- tip your cup full of the different colours upside down onto your flat surface. Then move your furniture around in order to ensure it gets on every inch of the piece of furniture. If there are any stubborn spots where the paint just won’t co-operate and you have a bald pat try rubbing some paint on with your finger.
Allow this to dry overnight
Once dry remove your masking tape and sand off any drips if there are any.
Use your normal furniture paint to paint the rest of your piece.
You can also use this technique to create some super unique and funky drawer knobs! They work out so cute check out this video below to learn how to do it.
I hope you like this tutorial it was a lot of fun to film. If you try it out at home make sure to tag me!


Comentários